http://www.unixmen.com/install-elastix-unified-communication-server


Please share 391
391 10
10 35
35 4
4 3
3
 1
1

3911035431Introduction
From the wikipedia,
Elastix is an unified communications server software that brings together IP PBX, email, IM, faxing and collaboration functionality. It has a Web interface and includes capabilities such as a call center software with predictive dialing. The Elastix functionality is based on open source projects including Asterisk, FreePBX, HylaFAX, Openfire and Postfix. Those packages offer the PBX, fax, instant messaging and email functions, respectively.
Installation
Prerequisites:
- Minimum Storage Capacity: 80 GB
- RAM: 2 GB
- CPU: Core i3 or better
Step 1:
Download ISO Image of Elastix Unified Communication Server from Following Link:
Make a bootable usb or burn iso image to DVD, Boot from device and Install.
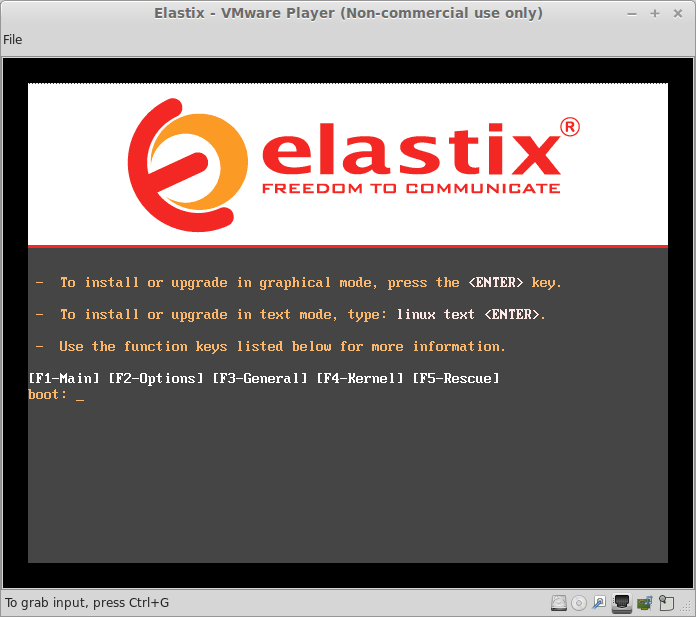
Step 2:
At the boot prompt, press Enter.
Step 3:
Change the default language, press enter.

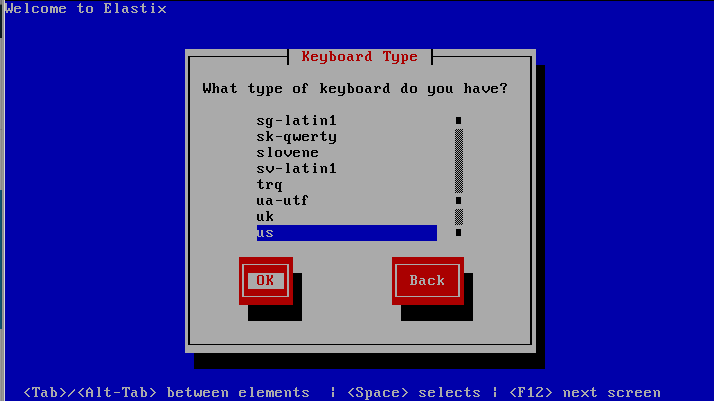
Step 4:
We have selected us pattern, press enter.
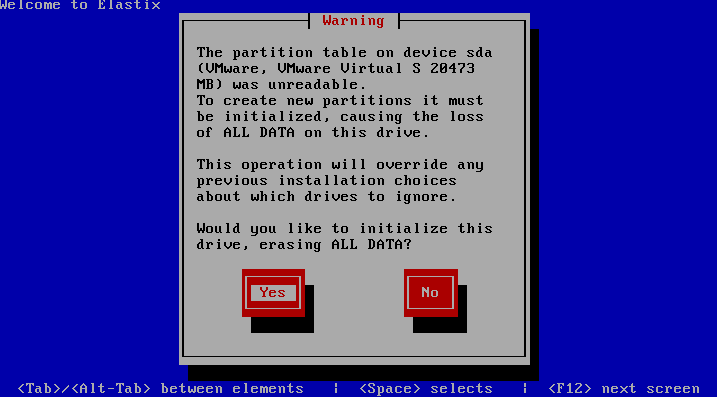
Step 5:
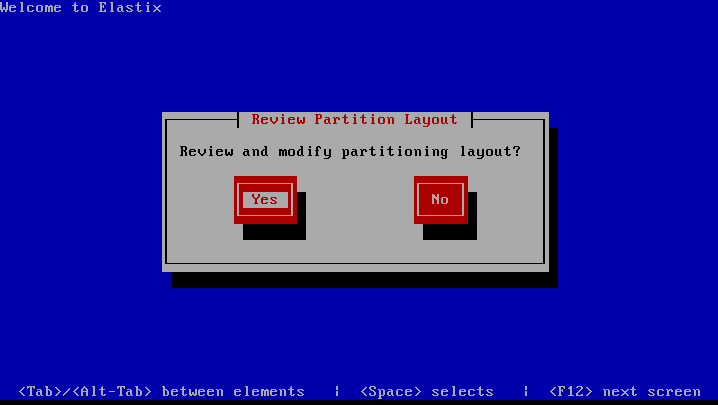
Recreate partitions, press yes and then press enter.
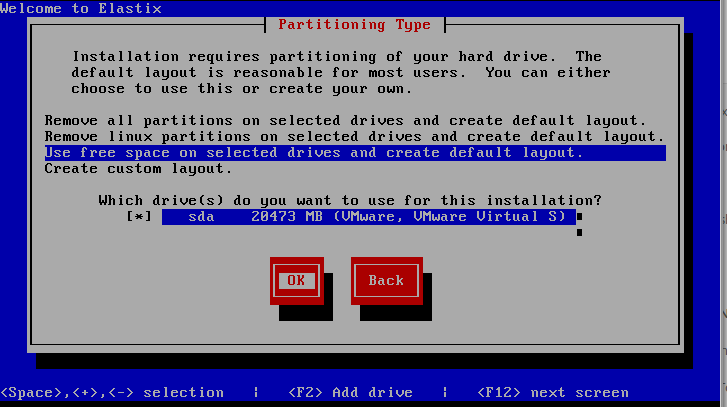
Step 6:
Select Installed Hard Disk, press enter.
Step 7:
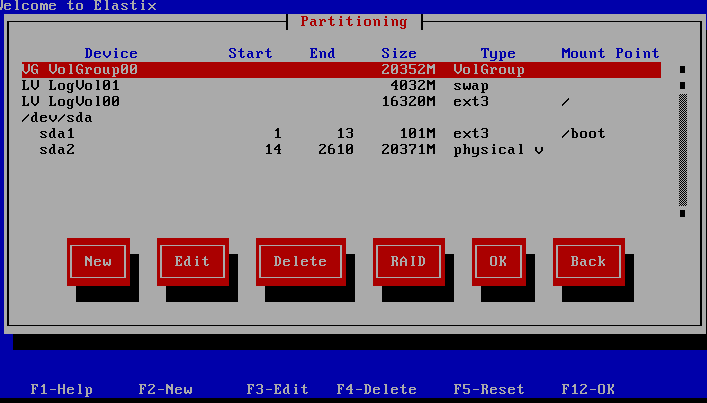
Apply Changes and review your partition table.
Step 8:
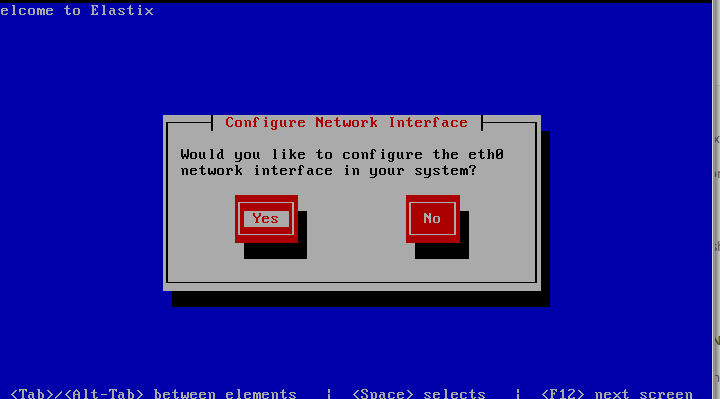
Configure Network Interface, press Yes.
Step 9:
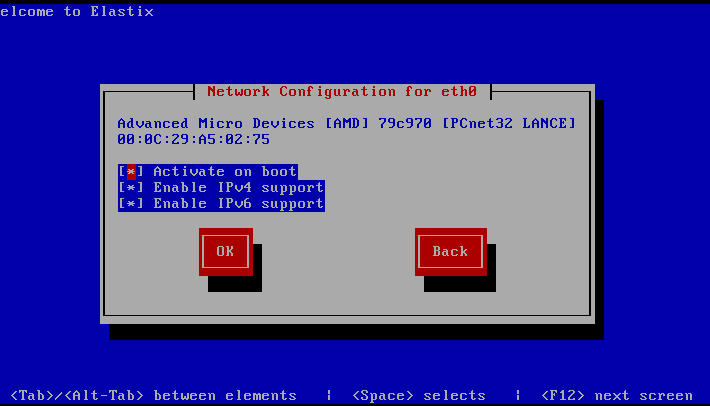
Select protocols you wants to have with your VoIP Server.
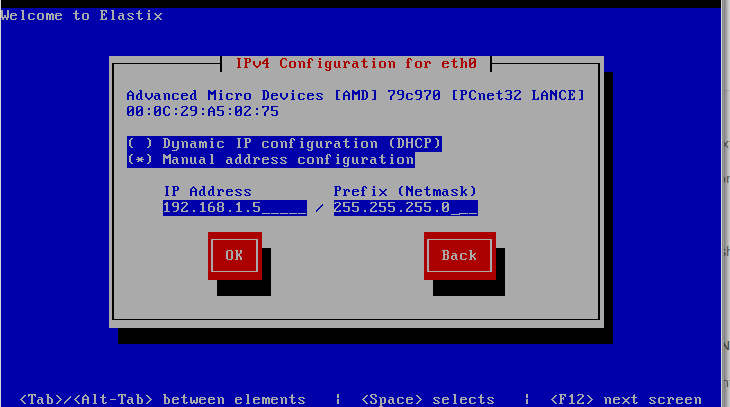
Step 10:
Assign IP address, in our scenario it will be 192.168.1.5.
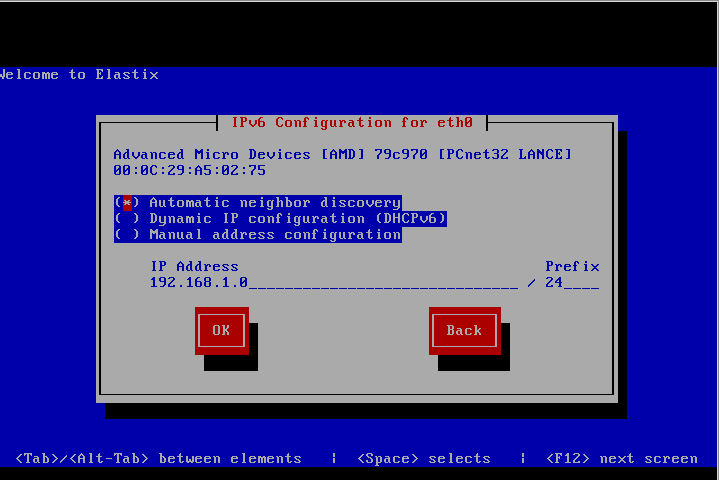
Step 11:
Latest Elastix Distro also support IPv6, leave it as default.
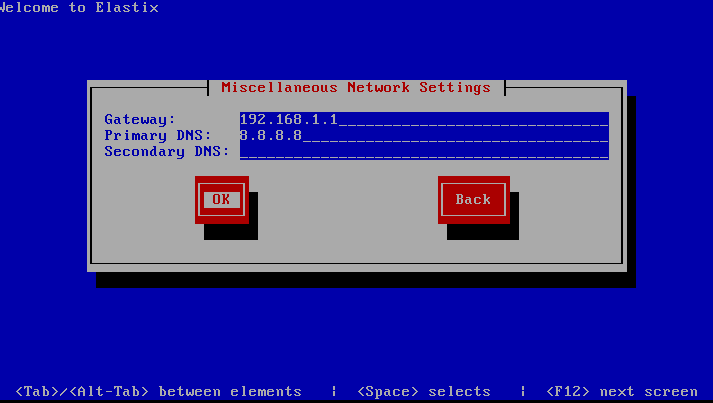
Step 12:
Provide Gateway IP Address and DNS Address, press OK.
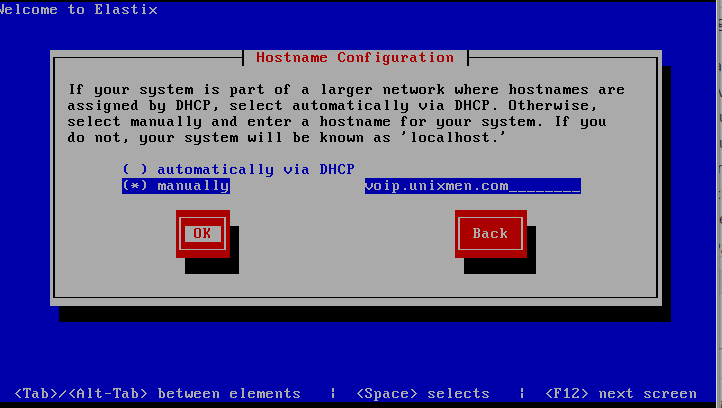
Step 13:
Provide hostname, in out case it will be ‘voip.unixmen.com’, press ok.
Step 14:
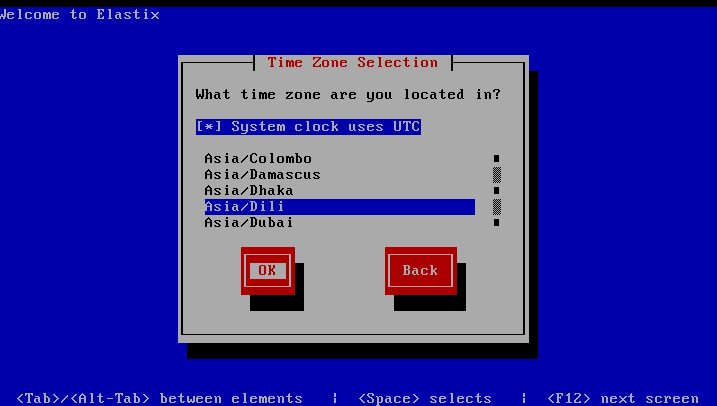
Select your time zone, press ok.
Step 15:
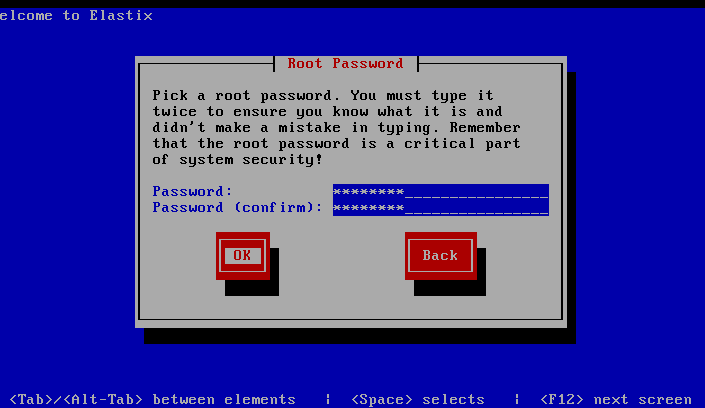
Provide password to the root user, our will be ‘P@ssw0rd’.
Step 16:
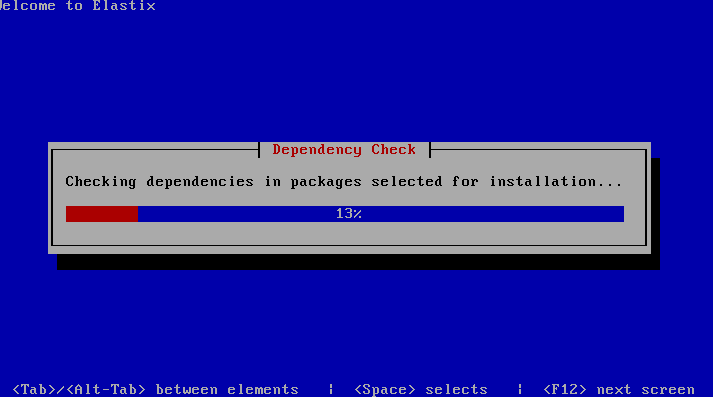
The System will check dependencies, Then it will start installation packages automatically.
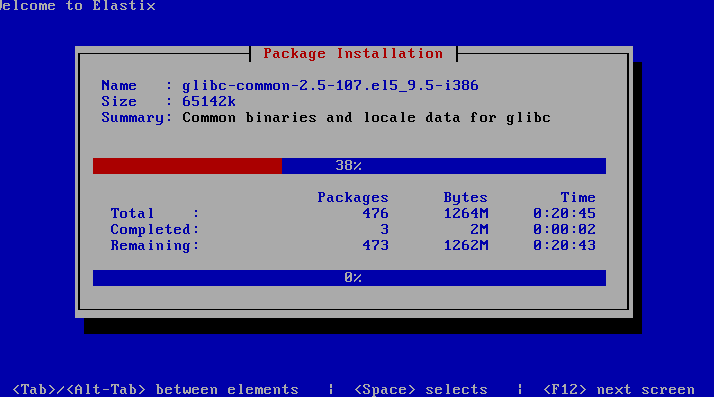
Step 17:
This
step may take some time during installation process, System will
automatically reboot after completion of this step, do not interrupt
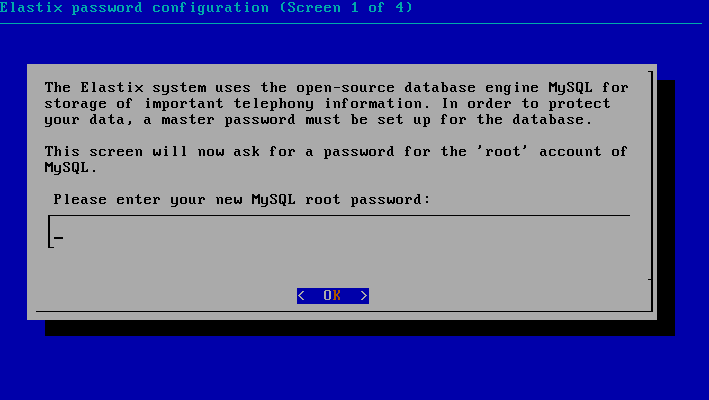
this boot process, Server will automatically ask for Mysql password,
assign that password (our password is ‘P@ssw0rd’).
Step 18:
In
next step it will ask for admin password, this password will be
required when you have to log in server via web browser (our is
‘P@ssw0rd’).
Step 19:
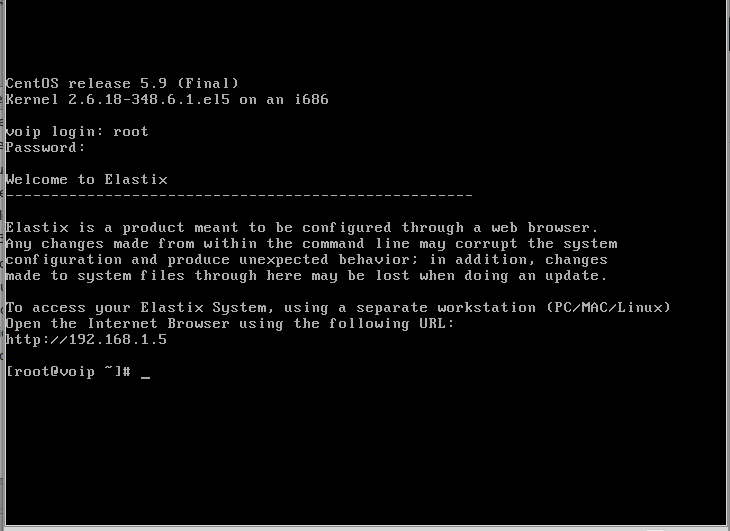
After
completion of installation process, server will be prompted with a
terminal, login with username ‘root’ and provide password for root user.
Step 19:
Congratulation! installation is done.
Now
open browser from remote system and type ip_address of elastix to open
management console of server. (our scenario ip will be 192.168.1.5).
Step 20:
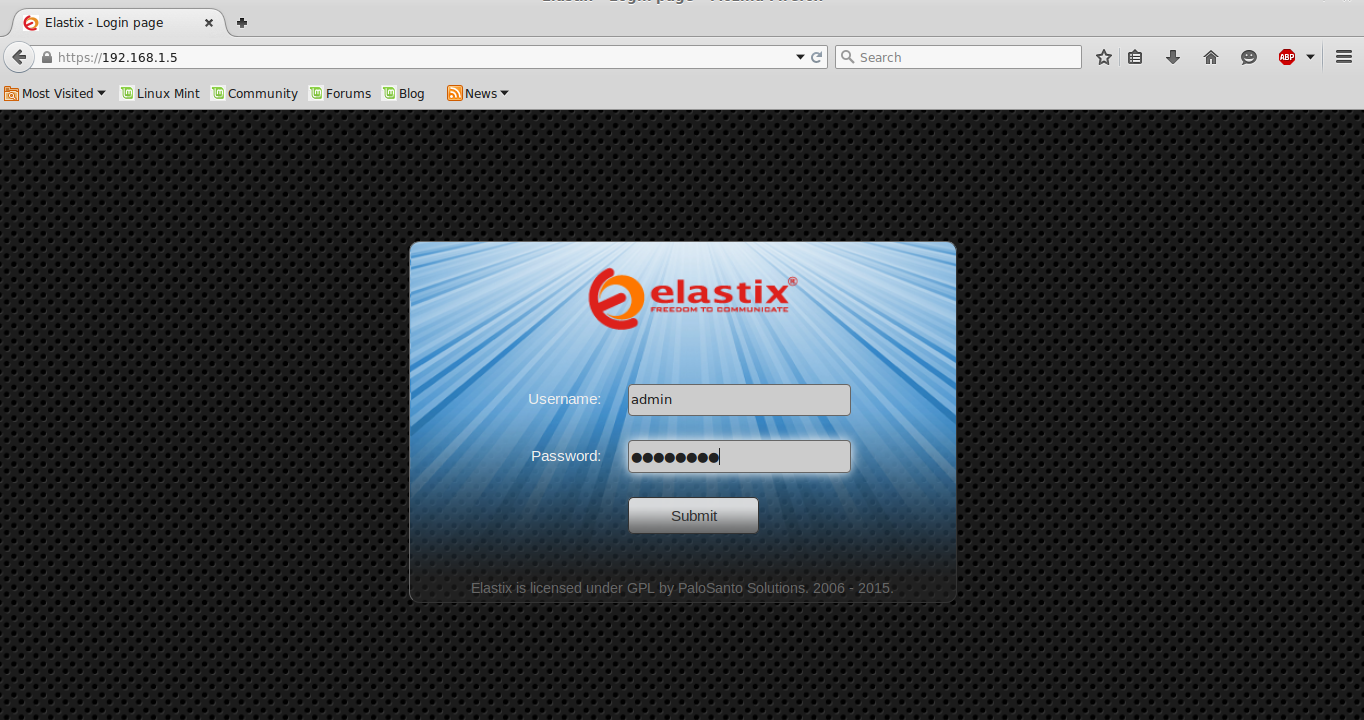
Login
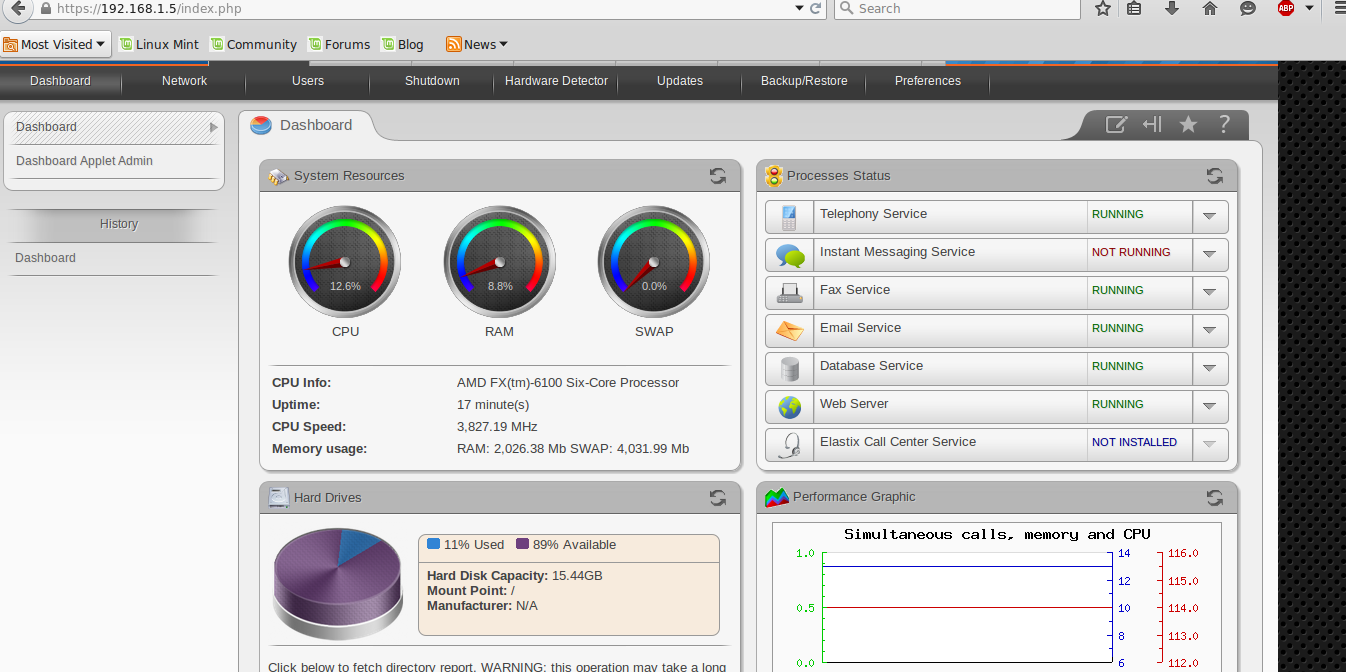
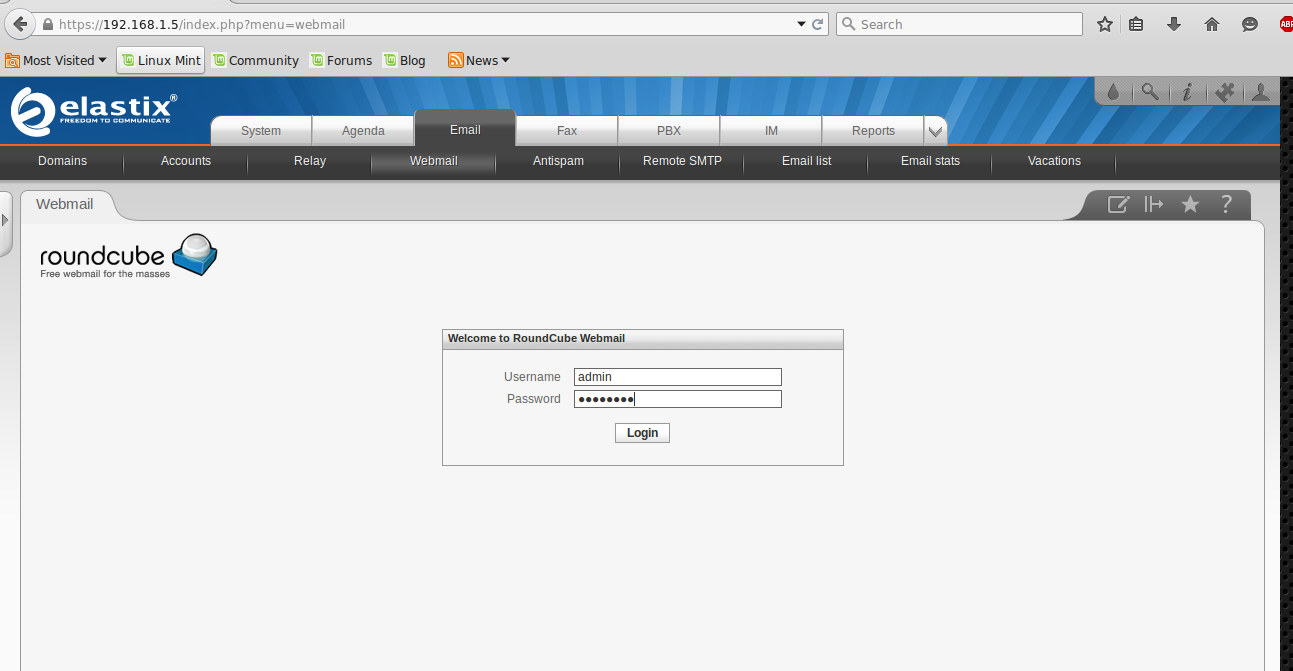
with ‘admin’ user and provide password then login, a dash board will
appear, now you can manage all of your messaging, VoIP, Mail Services.
Congratulations!!
you have installed Elastix unified Communication Service, Explore all
of the available service, with Mail Services you can add domains, can
configure mail accounts, and provide mail addresses as per your need,
similarly you can handle your PBX or FAX etc. services.
That’s it. Have Fun!!

No comments:
Post a Comment